MUL -illustration
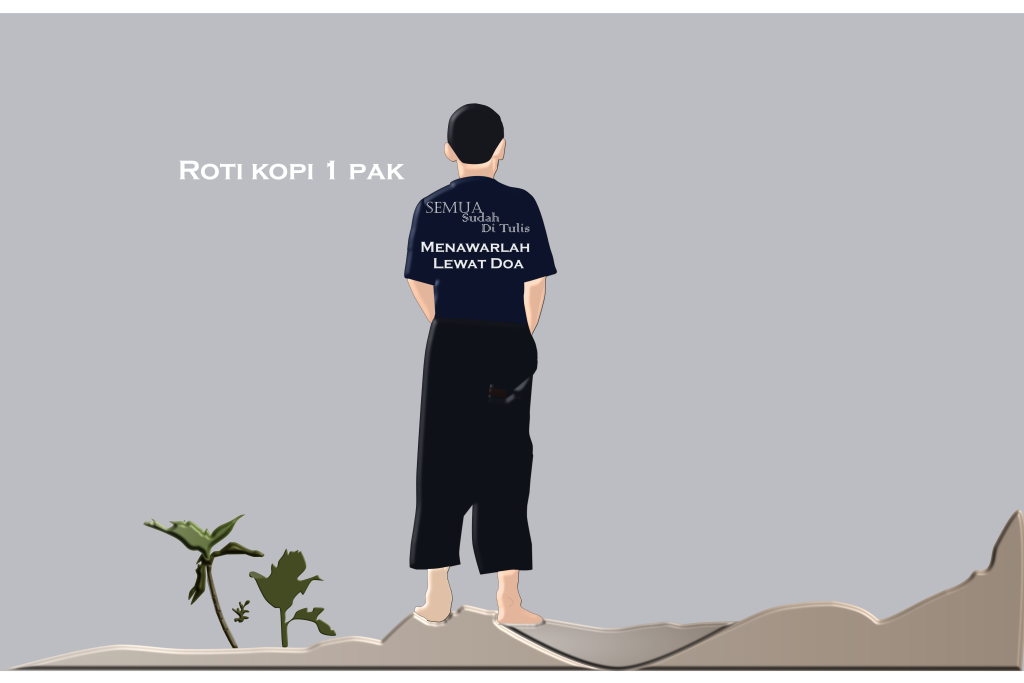
Okay, so today I’m going to tell you about my first Mulmed project this semester, which is creating illustrations from our own photos. You might be wondering, “What app did you use to make it?” Well, for this project, I used Affinity Designer to create my poster, because I think it’s very beginner-friendly for someone like me who’s still new to digital illustration. The interface is pretty clean and not too overwhelming, so I could focus more on actually learning the technique instead of getting lost trying to figure out the software. It’s also a one-time purchase instead of a subscription, which honestly made it feel less intimidating to just open it up and start practicing.
You might also be wondering, “How do you make it? What tools do you use?” Okay, so I mostly used the Pen Tool, because I think it’s the easiest to understand and also to learn. With the Pen Tool, I traced the outline of my photo little by little, placing anchor points one at a time and adjusting the curves until the shape matched the original picture. It’s slow, detailed work, but I liked that it gave me full control over every single line, so the final illustration could end up looking as close as possible to the photo I started with.
As for the last point—is it hard? Hmm, actually, I’m a bit confused myself, but to get you guys excited, I’ll just say: IT’S SOOOOO HARD. Getting the curves just right with the Pen Tool took way more patience than I expected, especially around the smaller, more detailed parts of the photo, where one misplaced anchor point could throw off the whole shape. There were a few moments I wanted to just undo everything and start over, but honestly, watching the illustration slowly come together in the end made all that trial and error feel worth it.